We have mentioned that we use Note Taker a lot around the office. Taking quick and long notes, sharing with others and storing off for later reference.
That said, in order to really use any app, you have to get it set up right in the first place otherwise it takes too long to get started with each usage. Think big now, plan for it, so you will be able find your hard work rather than going back and re-organizing later.
Part 1 here will is a couple set up items, Part 2 is about usability tips.
Set up the default paper type you want to start with. You can always change that particular note later but if you always have to change from large spaced lines to smaller, set the smaller to be your default. Choose the ‘Tools’ option at the botton of the opening page. Later, within any note editing you can get to this same Tools area but you will be changing on that note and not the system defaults.
From Tools, choose the ‘App Settings’
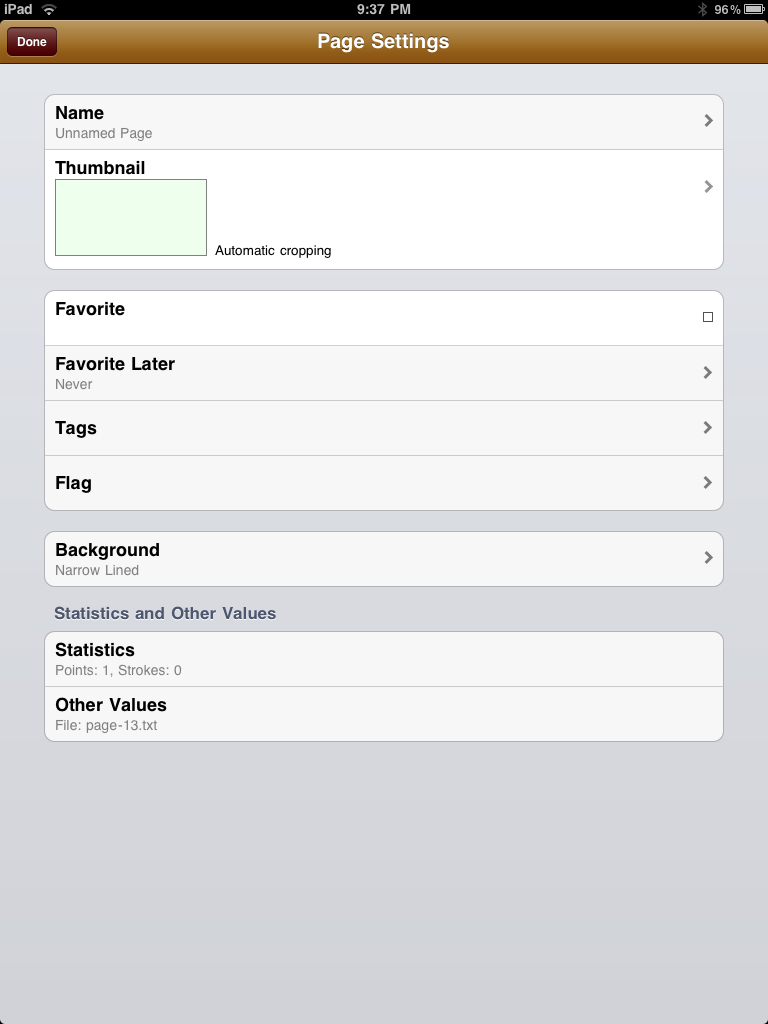
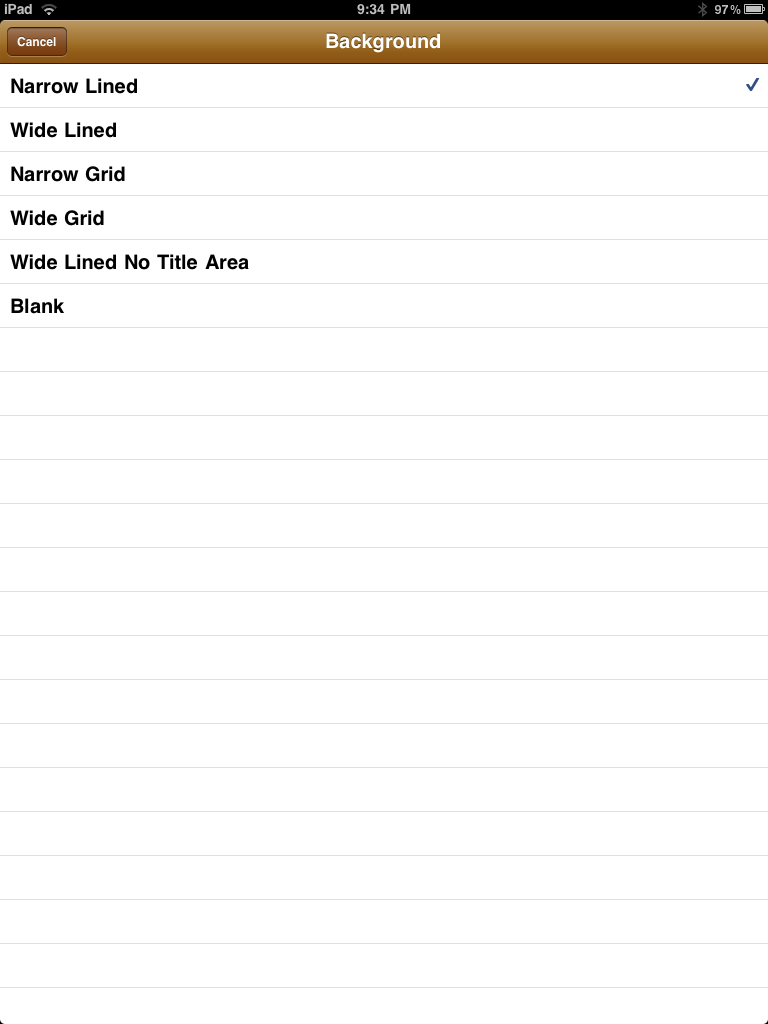
From the ‘Page Settings’ screen, you can set the default paper default look via the ‘Background’ option
While, many of us love Grid paper to write on with our pens, the Narrow Lined Background Paper works nicely in Note Taker to get a lot of readable text on a page.
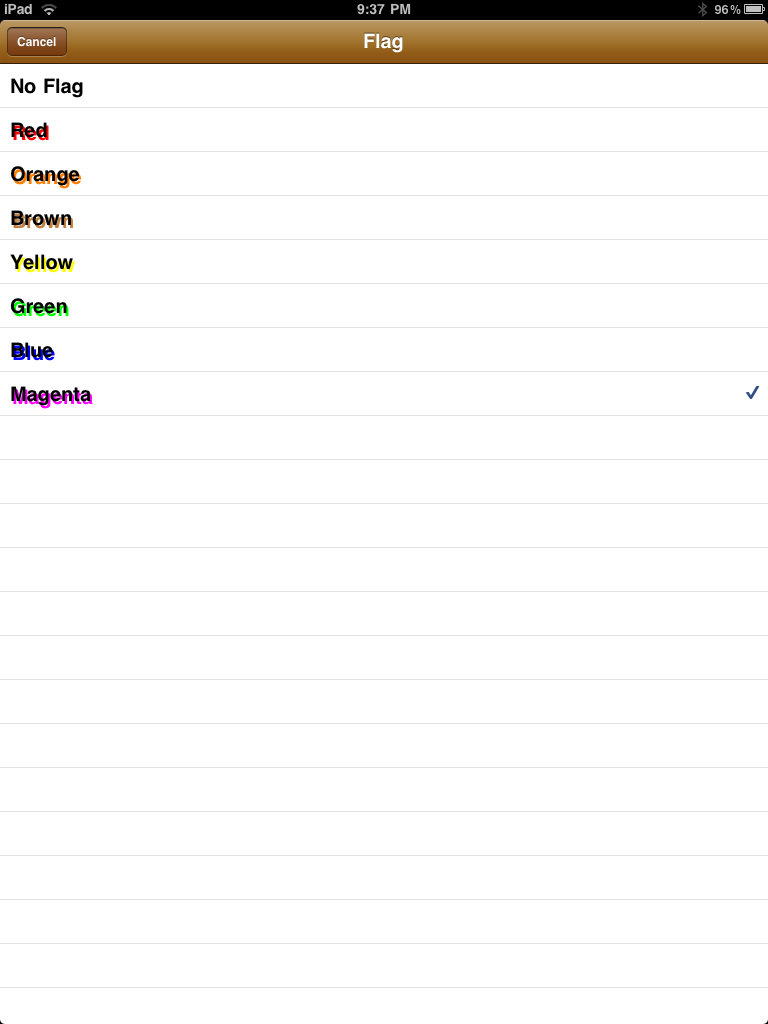
Via this same settings page, you can set a flag on the note as it appears in the List of Notes page. If you are working a lot on a single project, you may want to set all notes to default to it’s ID color then only change the individual notes away from the project as needed.
At any time, a note can be labeled or ‘titled’. Again, making it much easier to find later. When you start replacing your paper with Note Taker, your quantity of notes jumps up quickly. Anything to search on later will go much faster than searching through the many stacks of paper on your desk.
Here is that note in the list of notes, singled out, to see the color coding and title
Last tip for Note Taker – One of the best items for visually finding your notes fast is what you see in the thumbnail. This was mentioned in a previous post but it’s worth another fast review.
You are able to assign any test in a note as the thumbnail. Jumping back to the Tools and Page Settings, select the Thumbnail option. On that screen, you can move the page around so the selection box is over the text you want to use. You can also resize so more words can fit in or one can be very large to find faster.
Watch for our next Note Taker Tips post on getting the most out of your writing space and adjusting to make your scribbles the most readable.


