In a workflow design meeting today, it a couple of us that we have always talked about mindmapping type software here but never about the special needs of processes. When laying out a workflow, you will have some items that wrap back on themselves. As in; step 1 leads to step 2 leads to step 3 which can go back to step 1 or continue on to step 4 depending on decisions made in step 3. Mindmapping software likes to branch out, dividing steps is possible but it’s always in one direction.
An app we use for these types of design is Instaviz. The app is a Universal app so if you purchase, you can use it on both your iPad and iPhone, handy for having a reference to workflow handy when bouncing around.
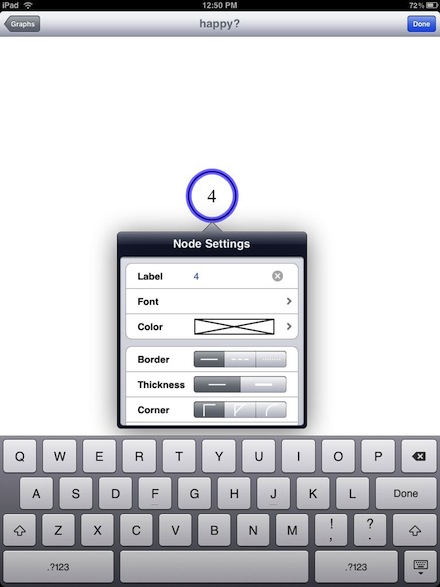
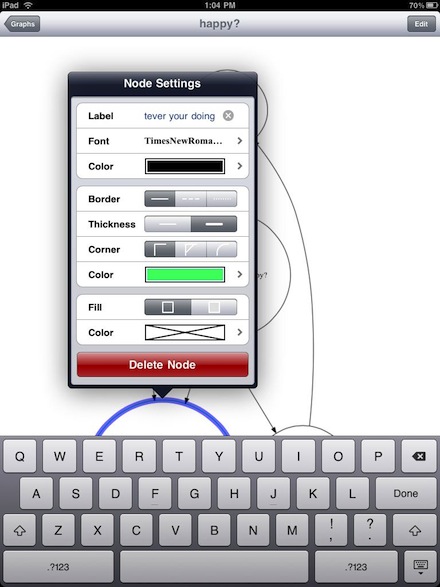
There is no picker for what type of flow box you create, tapping the layout screen does nothing other than letting you edit the document name/type. To create a component, you draw the shape of the box you want to use and Instaviz corrects it for you. A number is assigned to that entry (square, triangle, circle, etc…) which you can edit by double tapping on it.
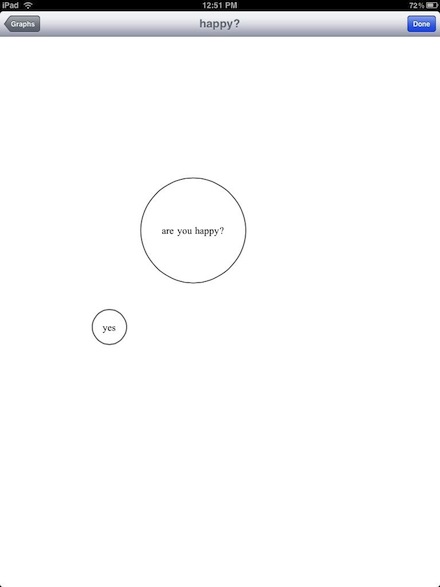
Continue to create object in the same way – draw, double tap to edit, tap object to close edit box.
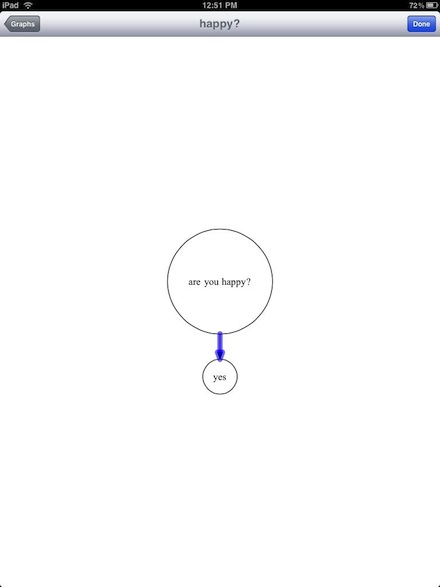
To tie objects together with an arrow, tap the starting one and drag your finger to the ending object. An arrow will appear which you can remove or edit by tapping via the editor popup.
Continue to draw, edit and link your objects together. We have not found a way to text wrap so the objects will auto size to fit the amount of the text you have entered into it.
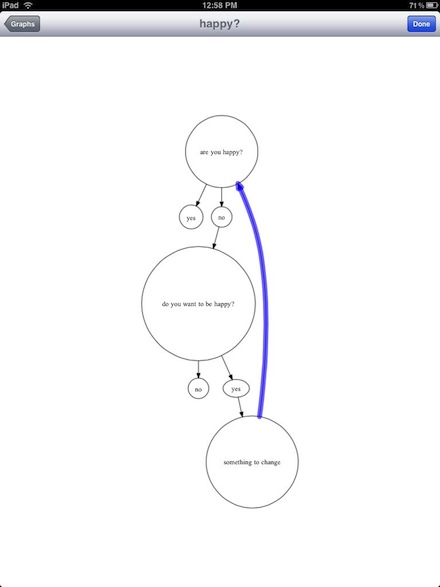
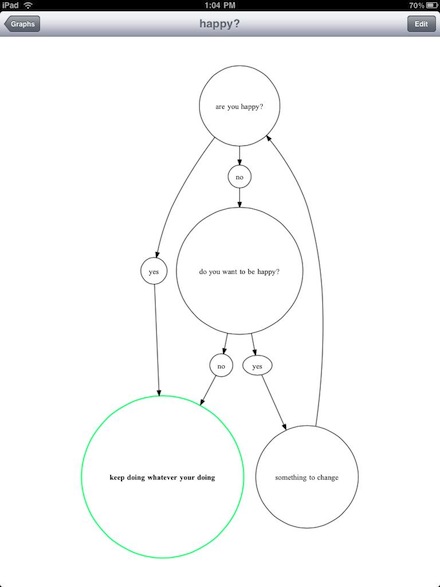
Like we started off this post with. A big bonus of Instaviz over mindmapping software is that you can tie a object back to an earlier one. While this doesn’t follow the thinking of brainstorming it does follow the way normal workflow and processes go. They can go back a step or two or all the way to the start if needed. Here, we just drew a line from one object back to an earlier one and it’s now the flow.
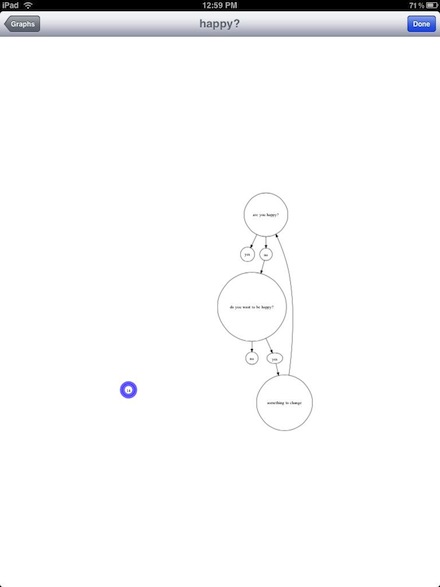
The ‘help’ files states that you can move a object around by tapping and dragging, we have not had good luck with this. So, we zoom out with two fingers and draw our object exactly where we need it. Then two finger zoom in to choose it for editing.
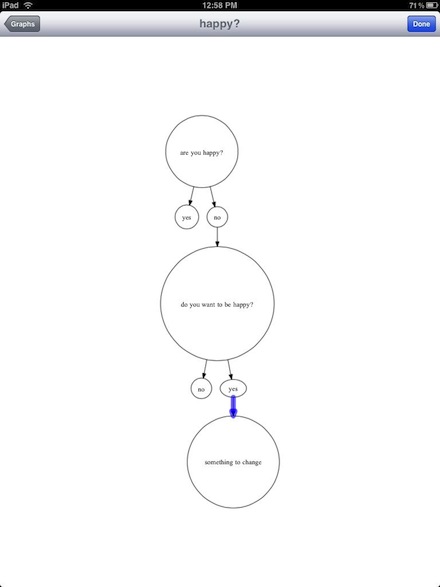
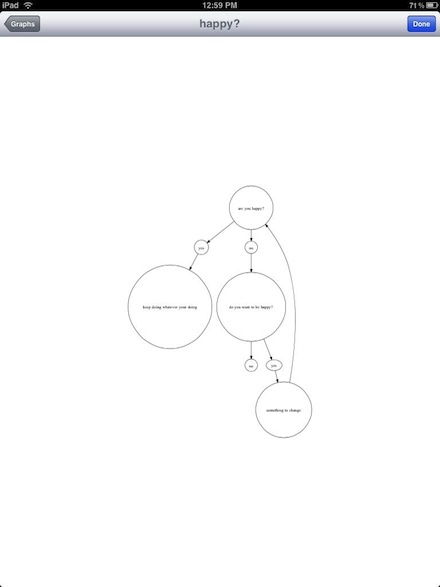
Below is the result of the above zoom out/in after editing the new object with text and a line from a previous step.
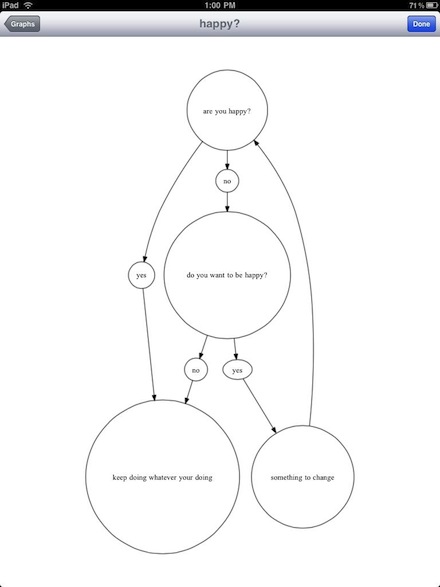
Here is the final Instaviz document. This can be shared out via email, export or printing. The email and export is as a PDF, Graphviz GV, PNG image or Visio VDX… pretty much all the ways you need to for viewing or allowing others to edit on a desktop computer.
At any time during the creation of a object or later by double tapping on the object, you can edit the text, line or background colors. As well, the font and line thicknesses.
A touch of color can make a particular step stand out. Particularily important when doing ‘processes’ diagram when steps are in good path versus a path to danger.
All of your Instaviz documents are available through the ‘Graphs’ list. Included with the app is several graphs that contain ‘help’ files which cover the basics.
