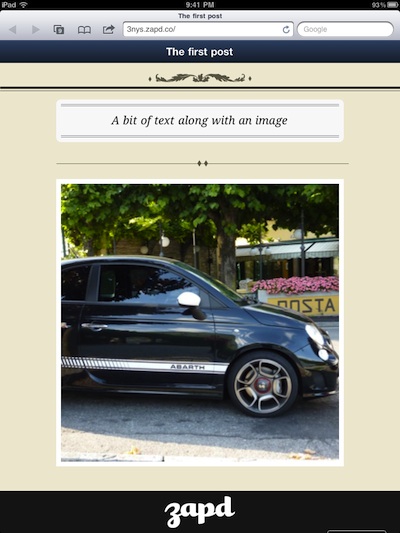
To get screen shots for this post, we launched the app fresh and had a unique named site with content built in under 10 minutes… it could have been several minutes faster but we had to take screen shots as we went through the site set up.
We played with Zapd back when it was first launched, there was a couple issues so it went to the back shelf. With today’s update allowing unique site names, the Zapd free app and free service is now on all of our iPads!
The Zapd app is not a universal app and it was written for the iPhone so on the iPad it has to be run in the 2X mode to used in full screen.
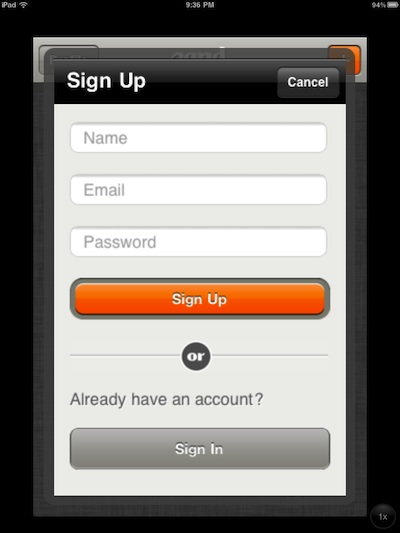
Launch the Zapd app and set up a new user:
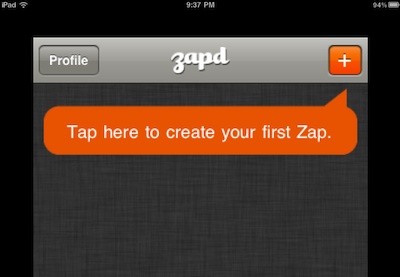
Once you have a free Zapd account, you can tap the ‘+’ button and start creating your first site. You do not have to do a unique name yet, just get the site up then choose a name to replace their default shortcut URL.
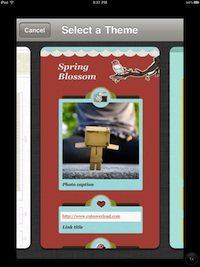
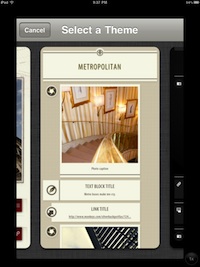
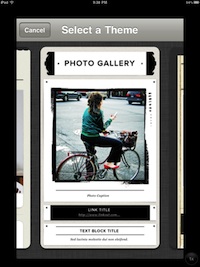
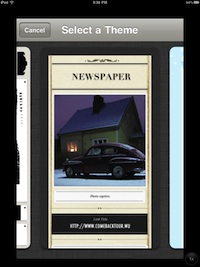
There are 20 Themes to choose from that are built into the iPad Zapd app. Below is four of them. These can be changed at anytime, even after the site has gone live, if you decide a different look is needed.
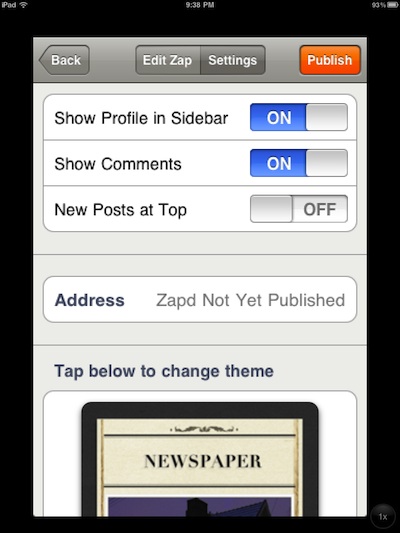
Along with the ability to use a unique name for our Zapd sites, another win in the update is the ability to automatically have the newest created post appear at the top. Early versions had the new content saved at the bottom of the site, which meant we had to resort the site order every time we did a new post. Your new site can have a Profile page as well allow (or not allow) people to comment.
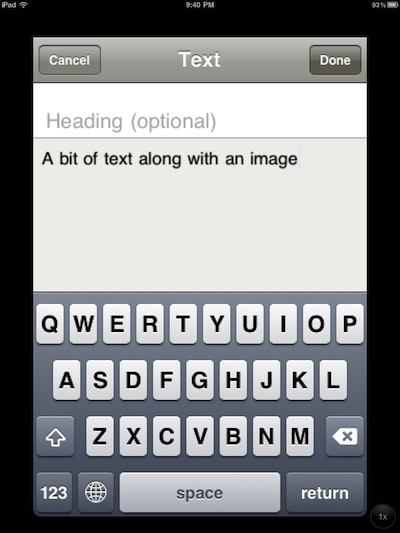
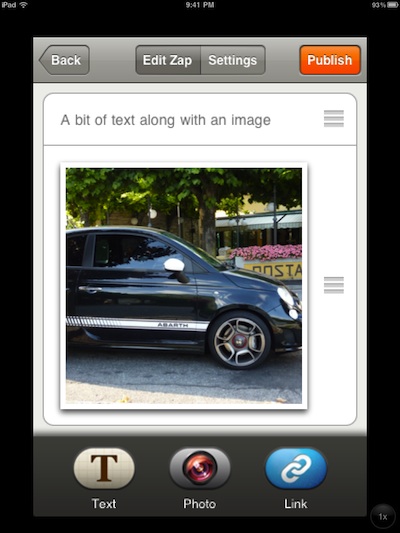
To start adding content, you have the option to add Text, Photos and Links. Your Zapd site posts can have one, two or three of those options.
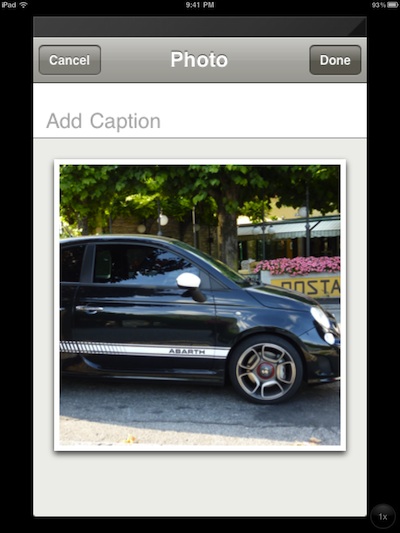
Adding an image to a post can be one you take then or from the iPad’s photo library. Zapd offers the ability to add a caption to every photograph. Doing a caption will not limit the ability to also have text in the same post.
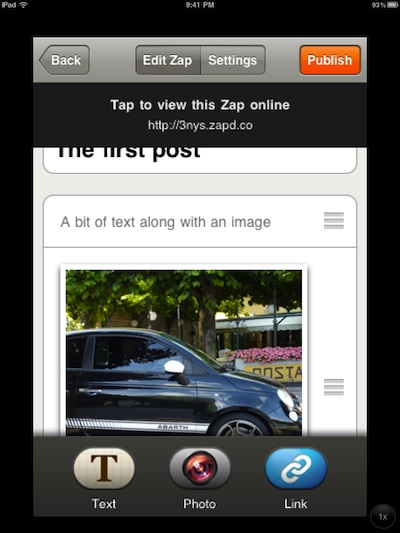
Add text, an image and even links to your posts via the buttons at the bottom of the screen. Using the drag areas on the right to adjust the order the items appear on the site, then tap Publish to make the content go live.
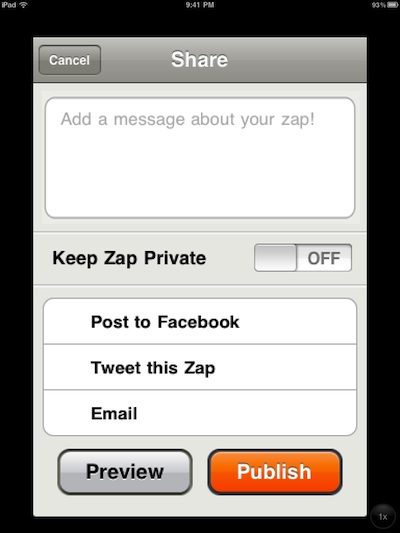
 When you have completed the content of your post, choosing the Zapd ‘Publish’ takes you to a screen offering you to share the new post to Facebook or Twitter. You do not have to share the post at this time if you do not wish, you can tap the Preview or Publish buttons to keep moving forward with the post going live online.
Before or after a post is Published to your Zapd site, the order of the content within the post and the actual posts can be moved around. Using the bars to the right, you can adjust the order of the posts on the site or how the individual post content lays out without having to re-write any content. 5 minutes in and we are already posting to our new site!
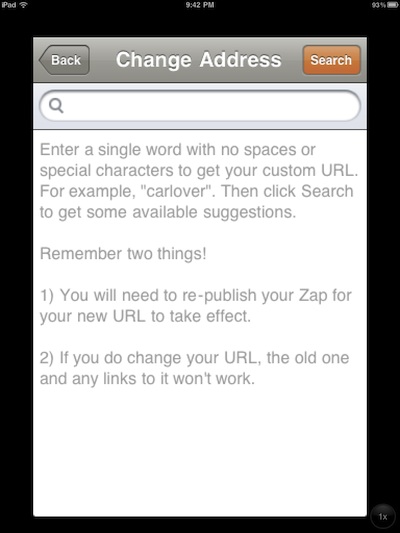
Once you publish your site, the iPad’s Zapd settings area allows the site to have a unique name you choose. We will be setting up sites for all of our events and gatherings so folks have a look and feel that matches the images rather than forcing a site into a general overall layout.
The site works nicely on mobile device browsers as well as full desktop viewers too. After you set up the site and review, you can always go back and re-order the content or even choose a different Zapd template.
Back at the starting page of Zapd, you can create more ‘sites’ or access the ones you already started to add or edit them. Like we started with, now that we can uniquely name the sites all from our iPads, we can create sites for any event on the fly.
