We had a project request a few weeks ago to comment on a series of photographs that were up for possible use in presentations. The comments would come from several people and need to be turned in to another group for further discussions.
At the start of the project, we way over thought the tools we needed to get the job done. We needed a way of viewing an image and make notes. Then someone said we should be able to draw on the image to point out particular areas of concern. Another person wanted typing… with highlighted text to call attention to particular notes. The list went on.
After looking as several options that required several steps, we got off our desktops and back to our iPads where we have Ghostwriter Notes. The one app did all of the steps we needed to get through. Whew!
To start, we created a notebook on GhostWriter’s shelf. Inside, we have a variety of paper choices, for this project a grid works well. We then import the images from the iPad’s Photo Library, which we had populated through a Dropbox folder. Each image was resized to fit the page via corner sizing arrow and then drug to it’s correct location.
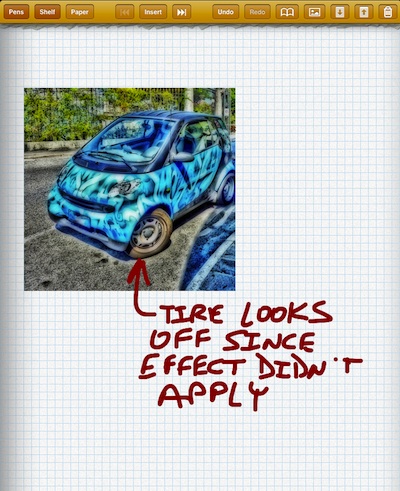
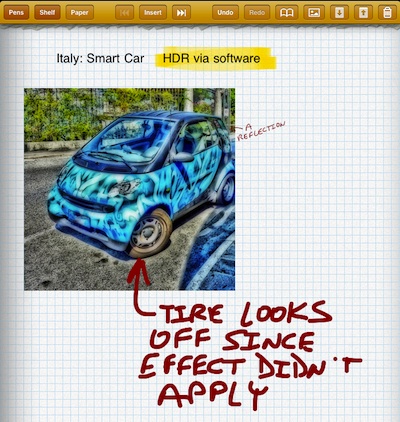
Quick notes where written on the page with a stylus (finger works fine too) using the GhostWriter’s ‘marker’ pen option.
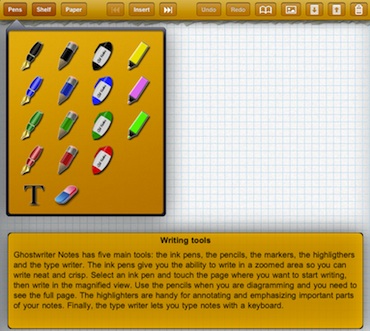
There are a variety of writing devices to choose from within GhostWriter. Any and all can be used on the same note. The pop-up box of addition info is available for all screens and can be turned on/off via the built in ‘help’. Width of the tips are not adjustable, instead you choose a different writing device. Pen being the thinnest and marker being the thickest lines.
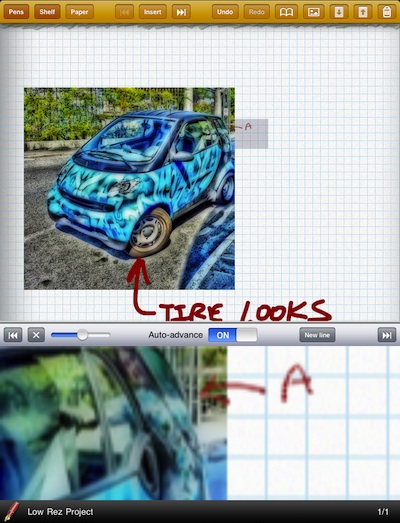
When choosing to use GhostWriter’s Pen tool, tapping a location on the page causes a writing area to appear at the bottom of the screen. This box will move as you reach the right side of it and can be zoomed in/out for maximum detail on the page. Notice in the lower left corner of the page is a symbol showing which writing device is selected (with color) and which notebook your working in.
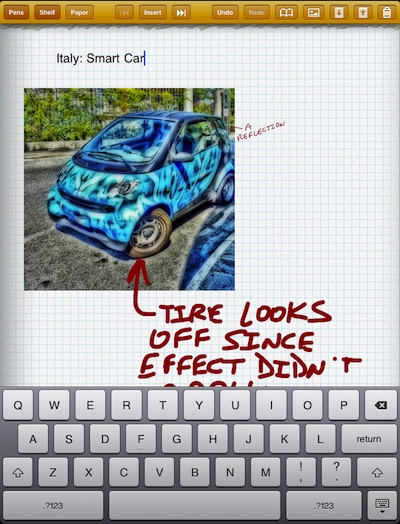
Text and Eraser are also options. Using text and tapping the screen brings up the GhostWriter’s keyboard to type with.
The last option is the ‘Highlighter’ – even that pen type comes in three color choices. Simply scribble over the text you want highlighted. Highlighting does not have to be just text, the pen writes anywhere on the GhostWriter page so you can use it for highlighting a area of a picture too.
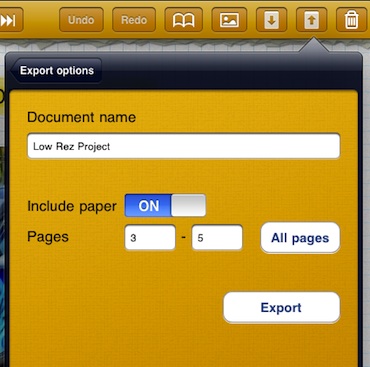
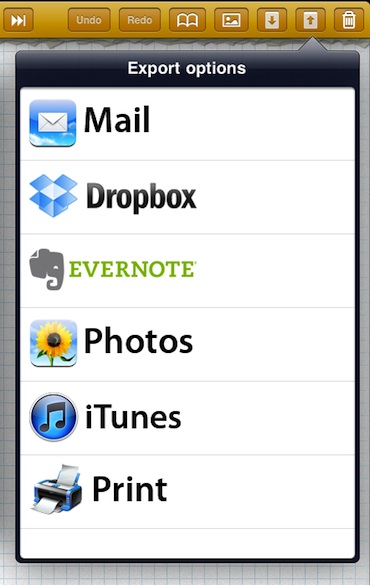
 Sharing the pages or the whole notebook is supported directly in GhostWriter. No need to wait to sync to the desktop computer iTunes to push out your notes.
For our purposes, we shared the documents out to DropBox for others to grab and review. Uploading a few GhostWriter pages to Evernote was also done to integrate the pages into our meeting notes to pull multiple things together into one location.
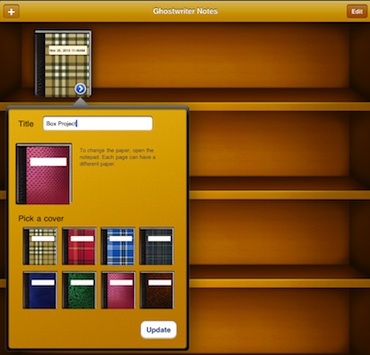
The GhostWriter notebooks ‘shelf’ is very similar to Apple’s iBooks Shelves. Naming and changing the cover design is easy to do so that later reference is quick. Much easier to get around with than some of the other options that put all your notes pages in one long list.
