PhotoForge 2 has been updated to become a Universal app so now you can install it on the iPad and not have to run in 2X mode. The layout isn’t much different than when installed on the iPhone but being Universal means there might be more UI tuning in the future.
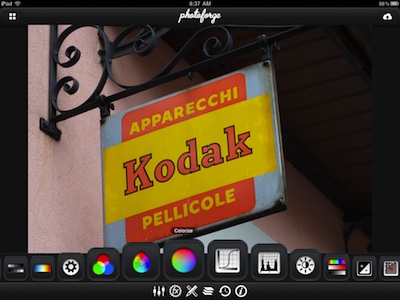
The photo editing app uses a different way to get to it’s tool set. All of the options sweep across the bottom and top of the screen. It is another example of an app that is slightly different usability study that some will love and others wont.
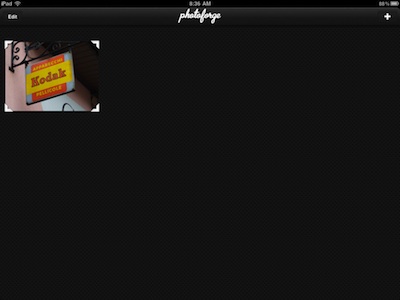
Images to edit in PhotoForge2 can be brought into the app via the upper right corner ‘+’ button. Either images from your iPad photo library or your iPad2 camera.
Choosing an image, you will be presented with the group of filters and adjusters via the buttons across the bottom of the screen. Tapping any will result in a row of tuning tools that you move through with a finger sweep left/right.
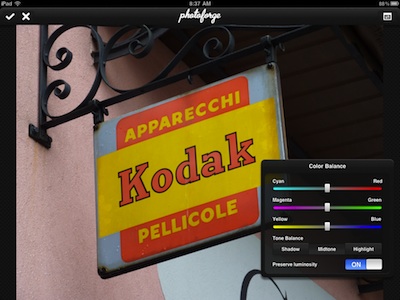
When you choose a photo tuning option in PhotoForge2, a adjustment tool window appears with sliders. This pop up window can be moved around the screen that best suites your needs. To accept the change you have made, tap the check mark button in the upper left corner. If you are not getting the look you want with that tool, cancel it via the ‘x’ in the upper corner.
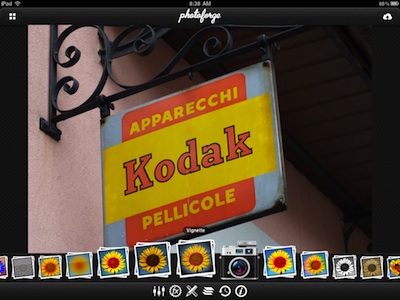
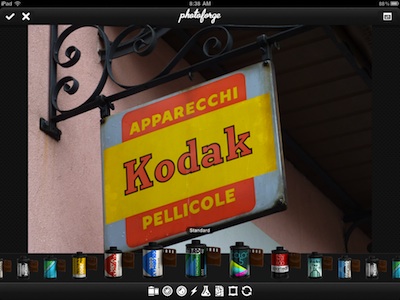
The next option across the bottom of the PhotoForge2 editor is for a group of common used image filters. Sweep across the screen to choose and use filters. Like the tuning above, you can use the check to accept or ‘x’ to undo the filter you applied.
As you move through the built in PhotoForge2 filters, you will notice a camera icon. Choosing the ‘camera’ take you to the option to test the specialized filters and purchase if you like the results they give your iPad photos.
Prior to spending your money on the in-app purchase classic filters update, you can try all of the film, lens, flash, backgrounds and frames. The buttons at the bottom of the PhotoForge2 screen change from the core adjustments to the specialty group. Tap any of the options to see the PhotoForge2 effect applied. These filters can be stacked. We are having a lot of fun with this since all of the film/lenses can be applied to images to play with rather than some apps that require the image is initially taken with a film/lens set-up that can’t be changed later.
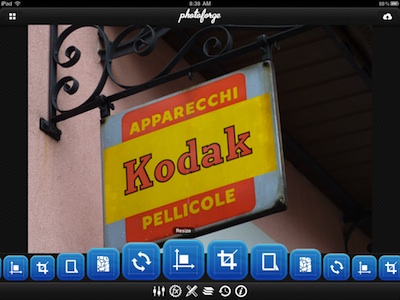
Back with the built in features, the crossed pen/pencil button presented the options to crop, trim, twist and more. As you can see from the image below, there are 5 core options so the icons repeat themselves. All of the key adjustments are covered.
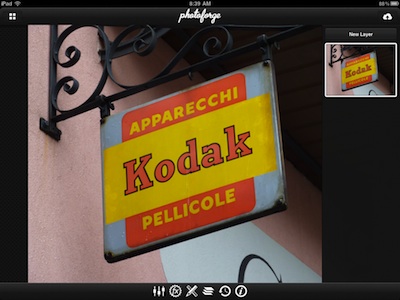
Layers for images is handled in PhotoForge2 through the ‘stack of paper’ looking button. Tap this to bring up the layers you have created for the image along the right side of the screen.
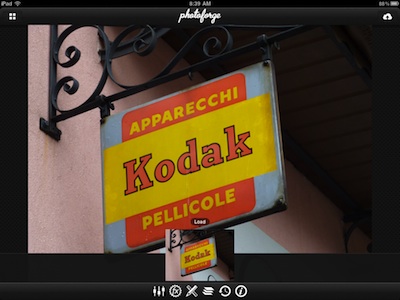
The second from the right button is the undo. This feature is handled nicely by showing the images across the screen so it is possible to see each step through your editing process. Choose one to jump back to.
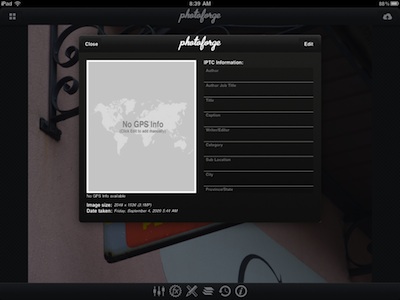
If the image has Geo information available, you can view it from the last button at the bottom of the PhotoForge2 screen. All of the info fields for the image can be edited.
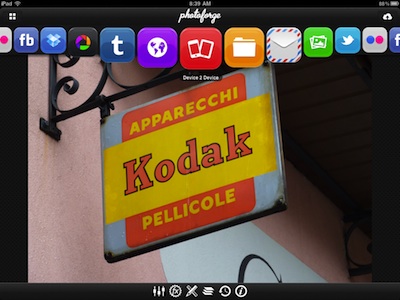
Across the top of the PhotoForge2 window is the sharing options. Again, sweeps from side to side, all of the popular social networks, emailing, local save and dropbox can assist you in getting your edited image out to others to use.
