We have been fans of the app Dynamic Light on the iPhone but the same company’s offering for the iPad hasn’t been quite so… ‘dynamic’. A recent update to their DynaLight HD has us excited about using the app on our iPads again.
There are many iPad photo apps available that apply a range of filters to make your images look old fashion. DynaLight HD goes the other direction. Two effects you may see around the Internet on sites like Instagram is the app’s HDR and Orton effects. Many folks give credit to DynaLight for the ‘Overcooked HDR’ when they are doing crowd or shots with clouds in them.
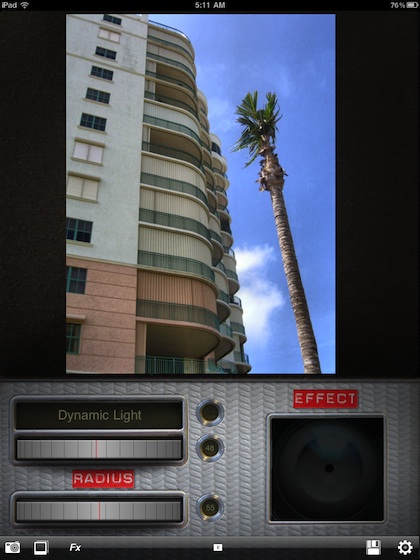
Loading an image into DynaLight HD (via the iPad’s photo library or taken with the iPad2’s camera) automatically gets the app’s Dynamic Light effect added. This is a light HDR effect to bring out many of the details lost in low contrast images. This can be removed with the ‘No more HDR’ effect… but most of us spin up the dial or choose the ‘overcooked HDR’ to see what we are missing in the details of the photo.
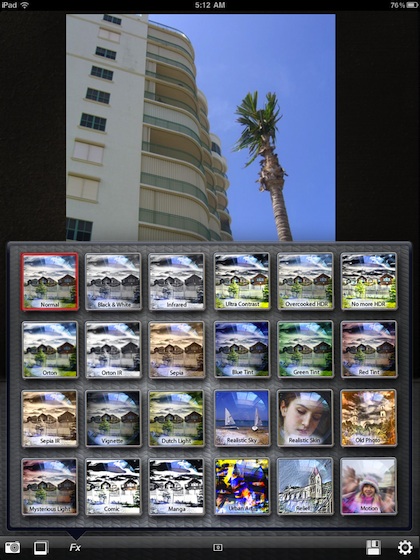
24 filters are offered in DynaLight HD. Each can be applied quickly so it doesn’t take long to find the perfect effect.
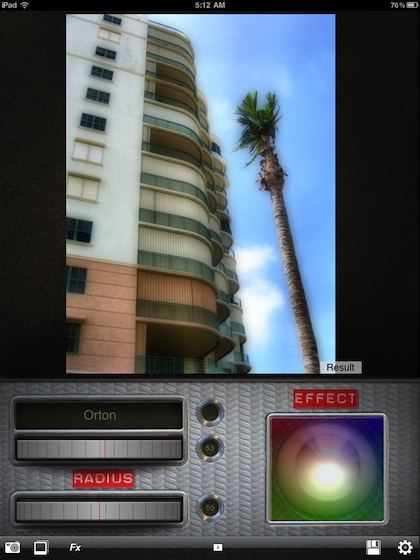
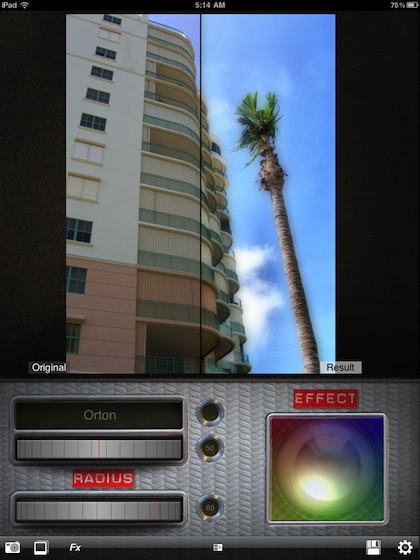
Choosing one of the above DynaLight HD effects applies just that filter to your image. The adjustment dials pictured below are centered as the default setting. Seen here is the Orton effect that softens the edges of a photo, a very nice effect when the image has strong colors and bold lines. Several of the special effect filters are not found with other apps and have proven to add a bit of personalization to images.
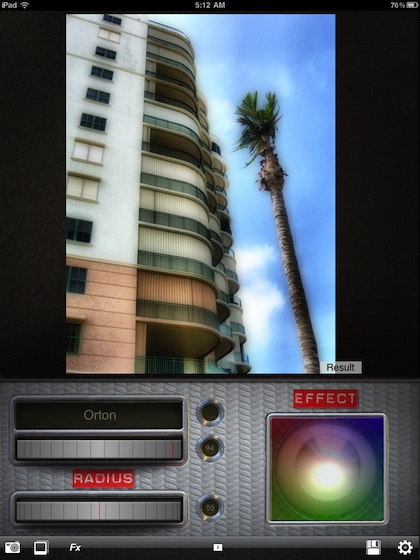
The dials can be moved left/right to add more effect or lower it from the default. In this case, we went full effect with the ‘Orton’ filter dial. Below the current filter dial is your adjustment for Radius. Sweep this back and forth to fine tune the area of the filter. The Effect bright spot on the right can be moved around with your finger to adjust the ‘center’ of the effect being applied. This is particularly important if you have a hot spot on your image to add more effect to that area, or take it away.
Using the button at the bottom center of the screen, you can choose to move between the image as it is with the filters, a split screen of original vs new as well just the original image with no filters applied. When choosing to save the image, DynaLight HD offers to save the original image (important if the image was taken with the iPad2 camera from within the app), just the new image with filters applied, or both.
