10 Tips for Taking Better Photos with Your iPad Who takes photos with their iPad? Actually, around town, we see it all the time. If you’re one of...
Paper notepad challenge for the iPad Paper Like product to get a Paper Like feel for writing and drawing on the iPad
We’re Back! OK… well, maybe not “We”, more of “I am back”. I jumped into iGoiPad when I got the first...
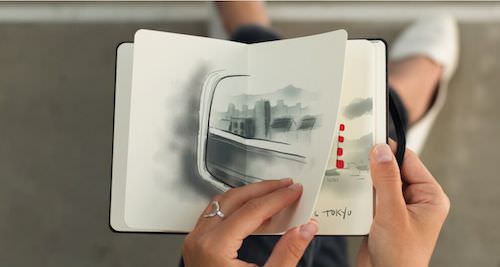
Drawing In A Digital Book Now Becomes A Printed Book To Gift And Share There are many drawing, painting and writing ‘notebook’ app for the iPad. One particular app, Paper by 53, has...
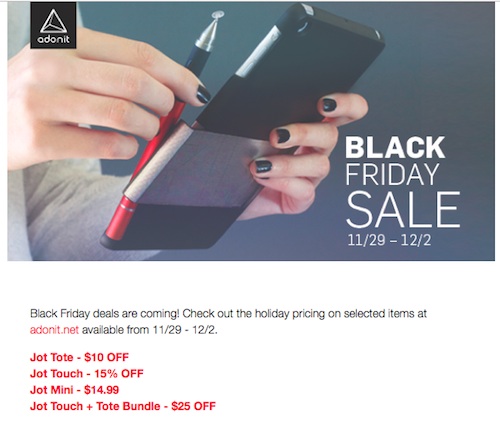
Adonit Black Friday Specials on iPad Jot Styluses The ads are rolling in for Black Friday specials. We use a lot of the Jot Styluses around the...
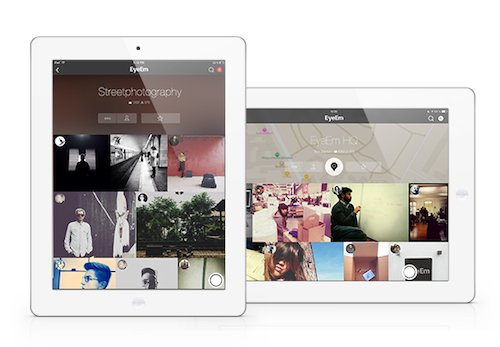
EyeEm Photo Sharing Comes To The iPad There are a lot of options when it comes to sharing photos with friends. Where ‘friends’ are those people...
Letter from Kelly Smith, Zapd service will be discontinued This news just came to us via an email (happy for Kelly, but we will miss the service!): Zapd...
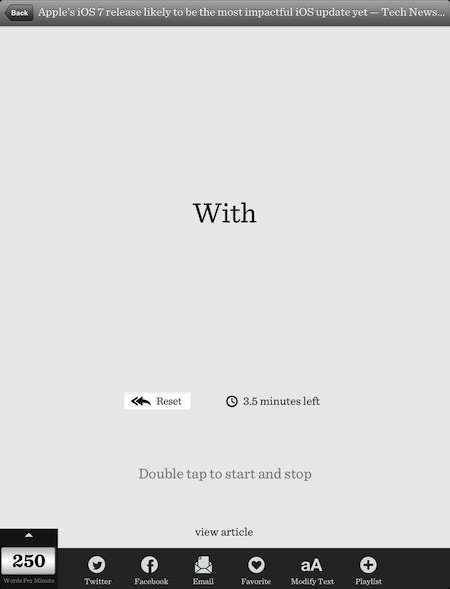
Reading The News On The iPad While Working Out There are a few of us who love to read electronic magazines on the iPad while working out. Both...