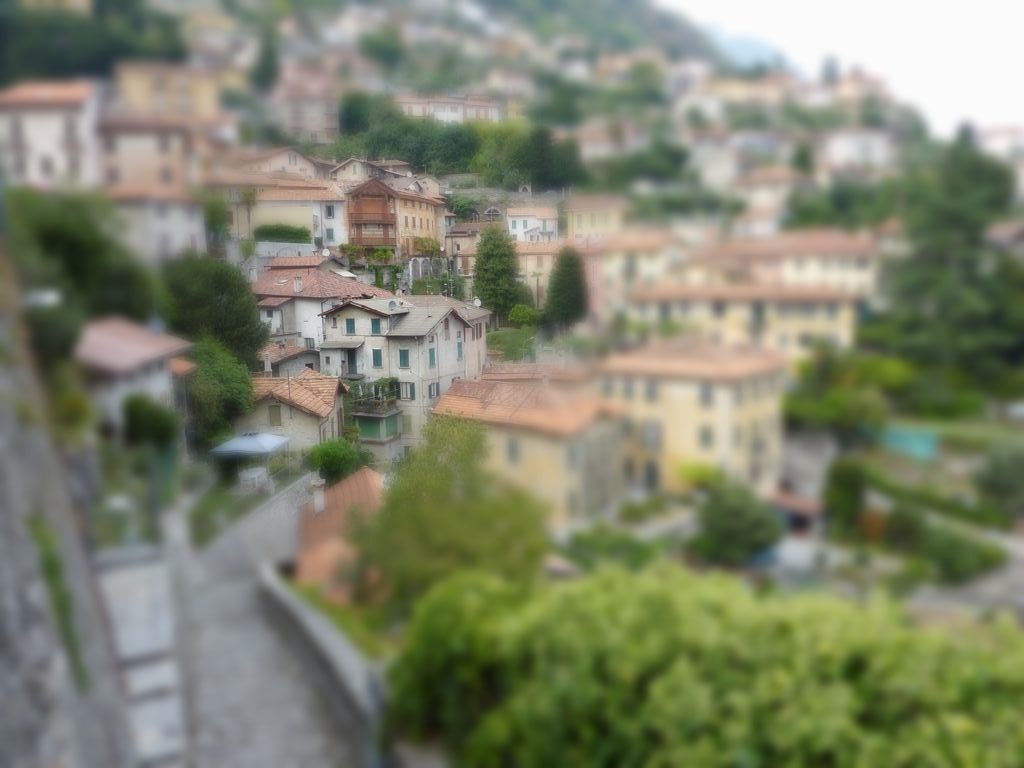
We have long edited photos on the iPhone. Even though the screen is on the smaller size to do much, you will be amazed at the image editor selection available. Now, with the larger size screen of the iPad, it is much easier to see what your doing without zooming in and out.
One fun items for a lot of the folks around the office is TiltShift editing of photos. The better folks take close up images of things about the office and get a result that looks like little toys. A lot of fun at conferences. Other folks work mostly with images from vacations, which add a whole new effect to what was once a quiet little town photo.
From Wikipedia: The term is used when the shallow depth of field is simulated with digital postprocessing; the name may derive from the tilt-shift lens normally required when the effect is produced optically.
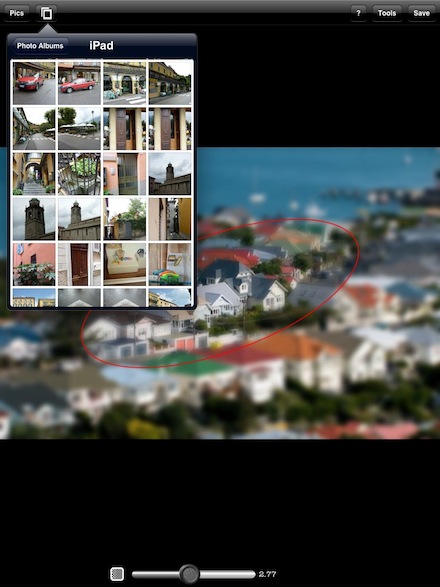
Since the iPad does not yet have a camera, photo apps are for enhancing photos from other sources brought in from a iPhoto sync or services such as the free cloud service DropBox. Below we are choosing an image we have already imported to our iPad Photos app.
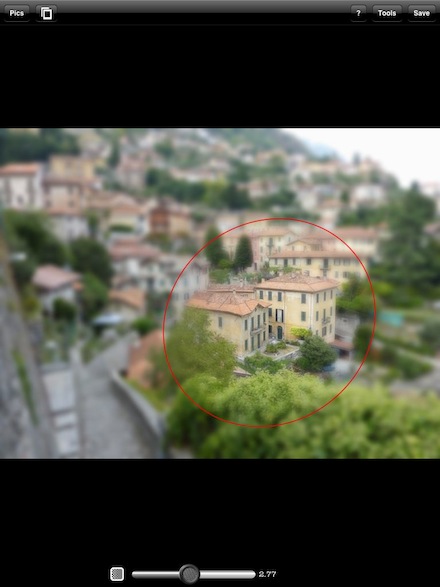
Choosing an area to pull into focus is easy. You can also change the shape and size of the area just by draggin the red circle around.
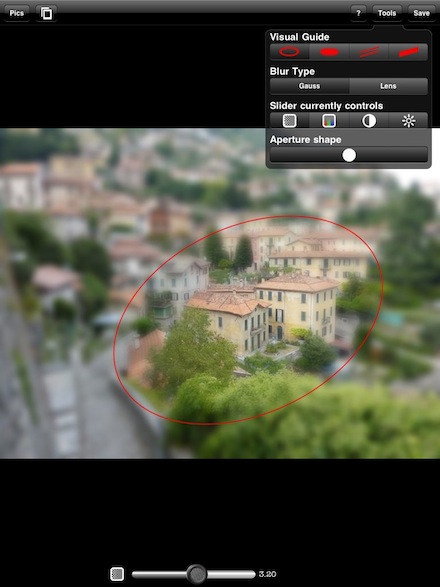
There are many tools available in TiltShift to get the maximum effect your looking for. You do not need to do a circle area, you can choose to do a swiped area for more of a long focus effect. Tuning of the image color balance and brightness is also available right inside of the app. As is the amount of focus on the background.
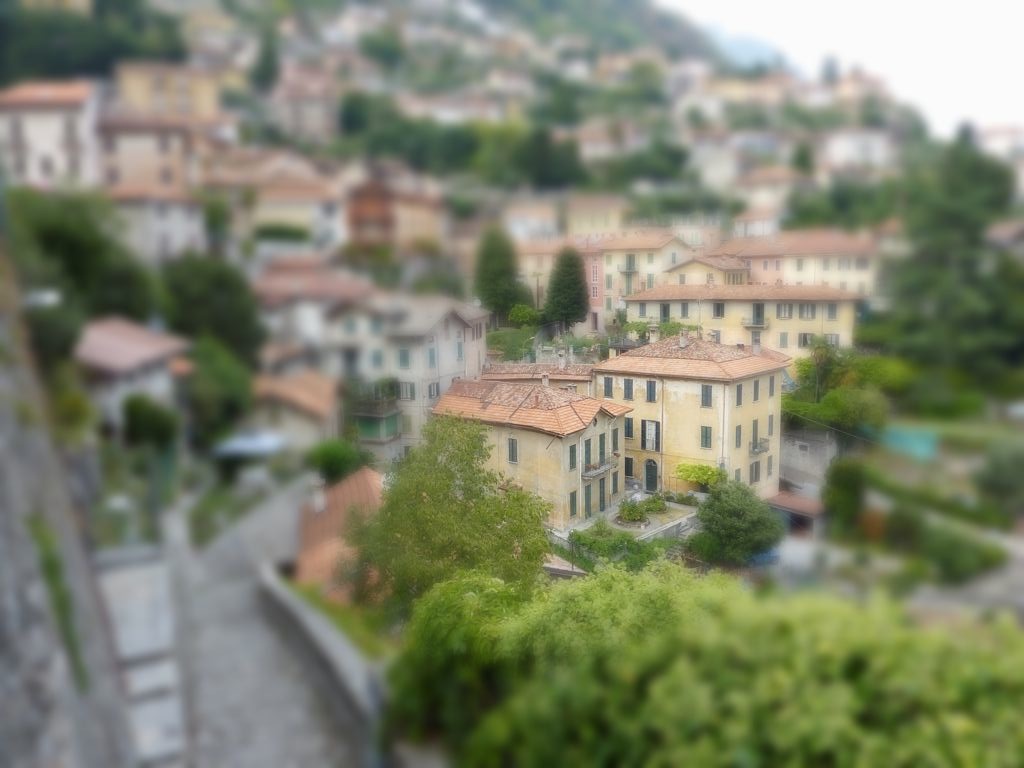
Finally, you should play a bit with what area your pulling into focus. Below we have two different areas that create a slightly different effect. Sometimes it is just a personal preference while other times your going after a particular subject like a group of known people in a crowd. Taping these images will pull up a large view to get the full TiltShift effect.
